Creating a transformation
Who this is for:Organization admins
The New Transformation wizard walks you through building a transformation from a single source: name it, choose the data to read, optionally enrich it, pick where it goes, and map the output fields. From the Transformations page, select + New Transformation.
The steps are listed down the side. Use the primary button at the bottom right to advance (its label changes per step), Back to return, or Cancel to leave.
Step 1 — Intent
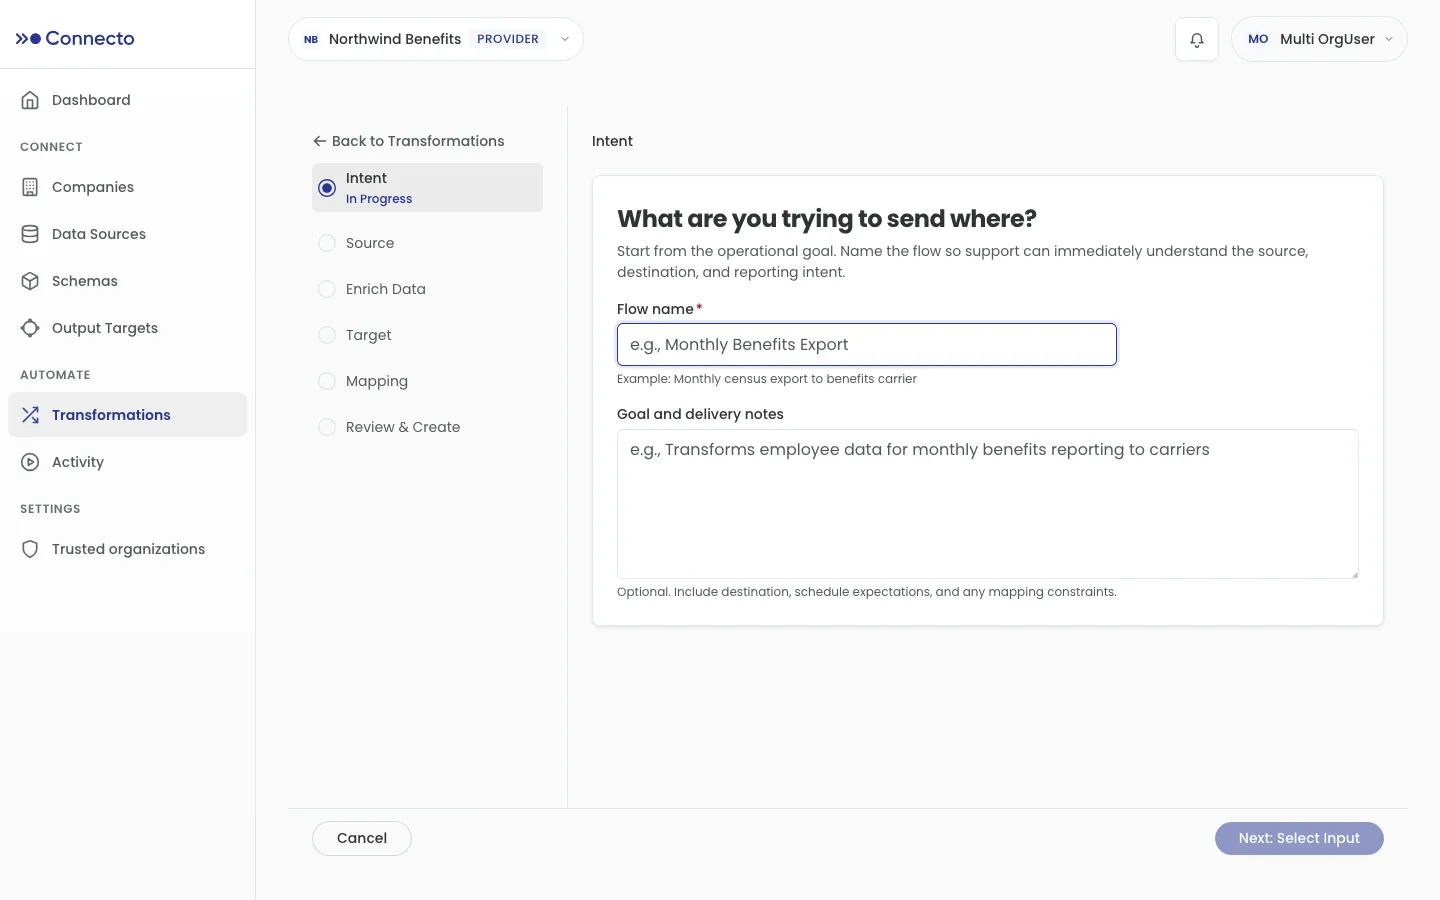
Section titled “Step 1 — Intent”Start from the goal: what data is going where.
- Enter a Flow name (required) — for example Monthly Benefits Export.
- Optionally add Goal and delivery notes describing the destination, schedule expectations, and any mapping constraints.
- Select Next: Select Input.
Step 2 — Source
Section titled “Step 2 — Source”Choose the data this transformation reads.
- Select the client organization whose shared data sources you want to build on. If no organizations have shared data sources with you, this step tells you so.
- Select Your Data Source — the primary (base) source. Sources are grouped as HRIS Data Sources (Workday), Uploaded Files, and SFTP Files. Recently added sources show a New badge.
- Select Next: Enrich Data.
Step 3 — Enrich Data (optional)
Section titled “Step 3 — Enrich Data (optional)”Enrichment adds columns from another source to your base data by matching rows on a common column — for example, adding department or manager details keyed on Employee ID. All base rows are kept, whether or not they find a match.
To add enrichment:
- Select Add Data Source and choose the source to combine in.
- Under Match On Columns, select + Add Matching Column and pick the Base Data
Column and the matching column from the enrichment source (
base = enrichment). - Add more matching columns if a single column doesn’t uniquely identify a record — records match only when all columns match.
A Summary and a Combined Schema Preview show the fields your data will carry forward.
Don’t need to combine sources? Select Skip. Otherwise select Next: Select Target.
Step 4 — Target
Section titled “Step 4 — Target”Choose where the result goes. The target defines the output schema — the columns your transformation must produce.
- Select a Target from the list of active output targets.
- Connecto loads and previews the target’s Active Output Schema — its name, version, and
fields. Required fields are marked with
*. (You don’t pick the schema or version yourself; the target’s active schema is used.) - Select Next: Map Fields.
Step 5 — Mapping
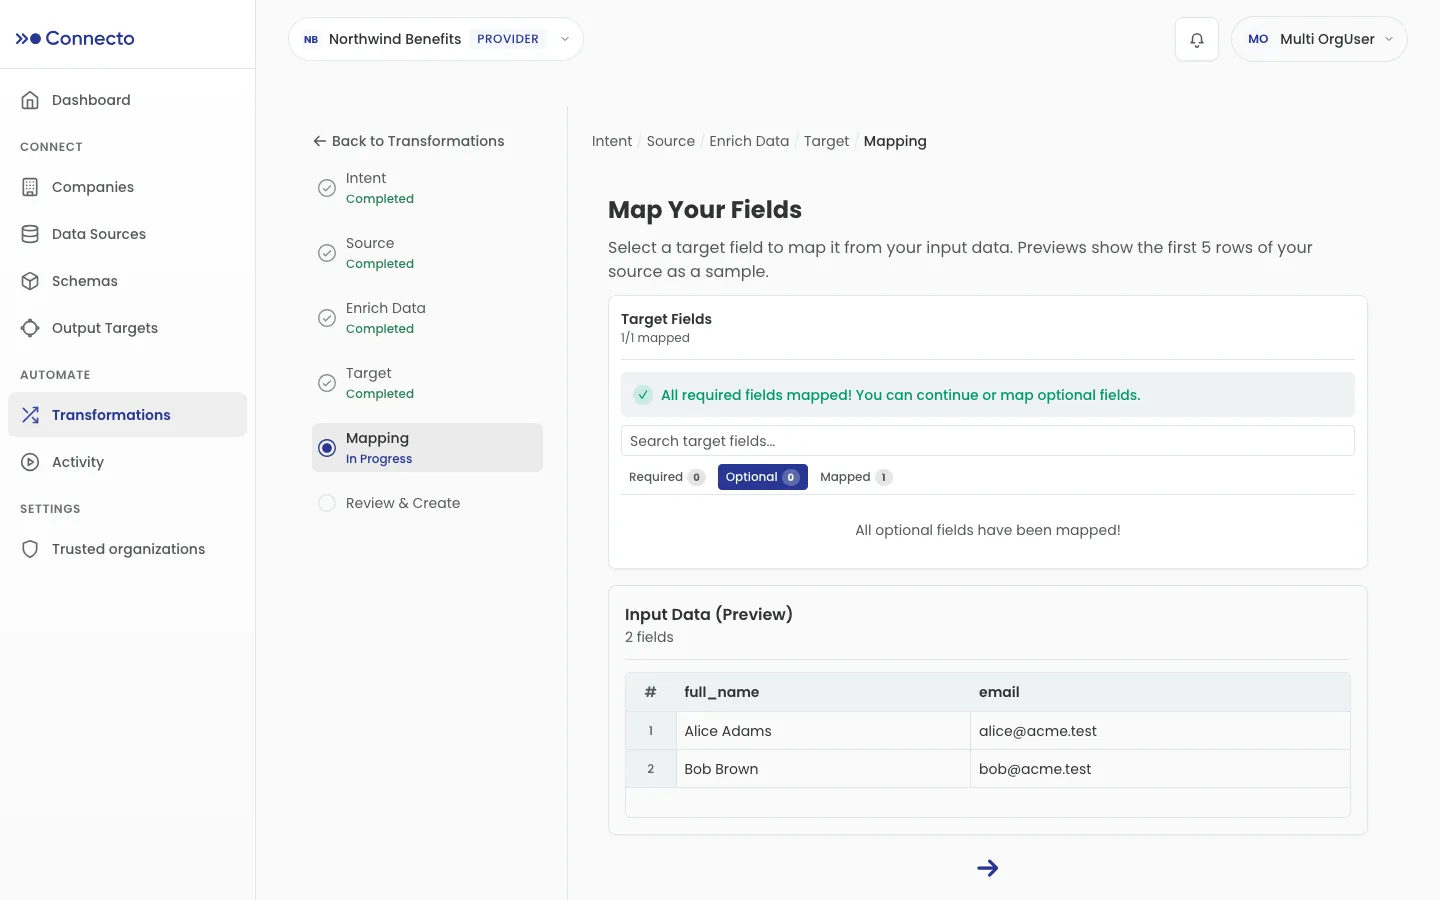
Section titled “Step 5 — Mapping”Now map each target field from your input data. The panel tracks progress as mapped / total, and previews the first few rows of your source alongside the mapped output.
- Work through the Required, Optional, and Mapped tabs. Connecto suggests likely mappings — select Accept on a suggestion, or Accept All to take them all at once.
- For anything not covered by a suggestion, select Map on a field and build its value — a direct field mapping, a fixed value, a function, or a conditional. See Building field expressions for what you can express.
- Watch the Mapped Output (Preview) to confirm the result looks right.
You can’t continue until every required field is mapped. When they all are, select Next: Review.
Step 6 — Review & Create
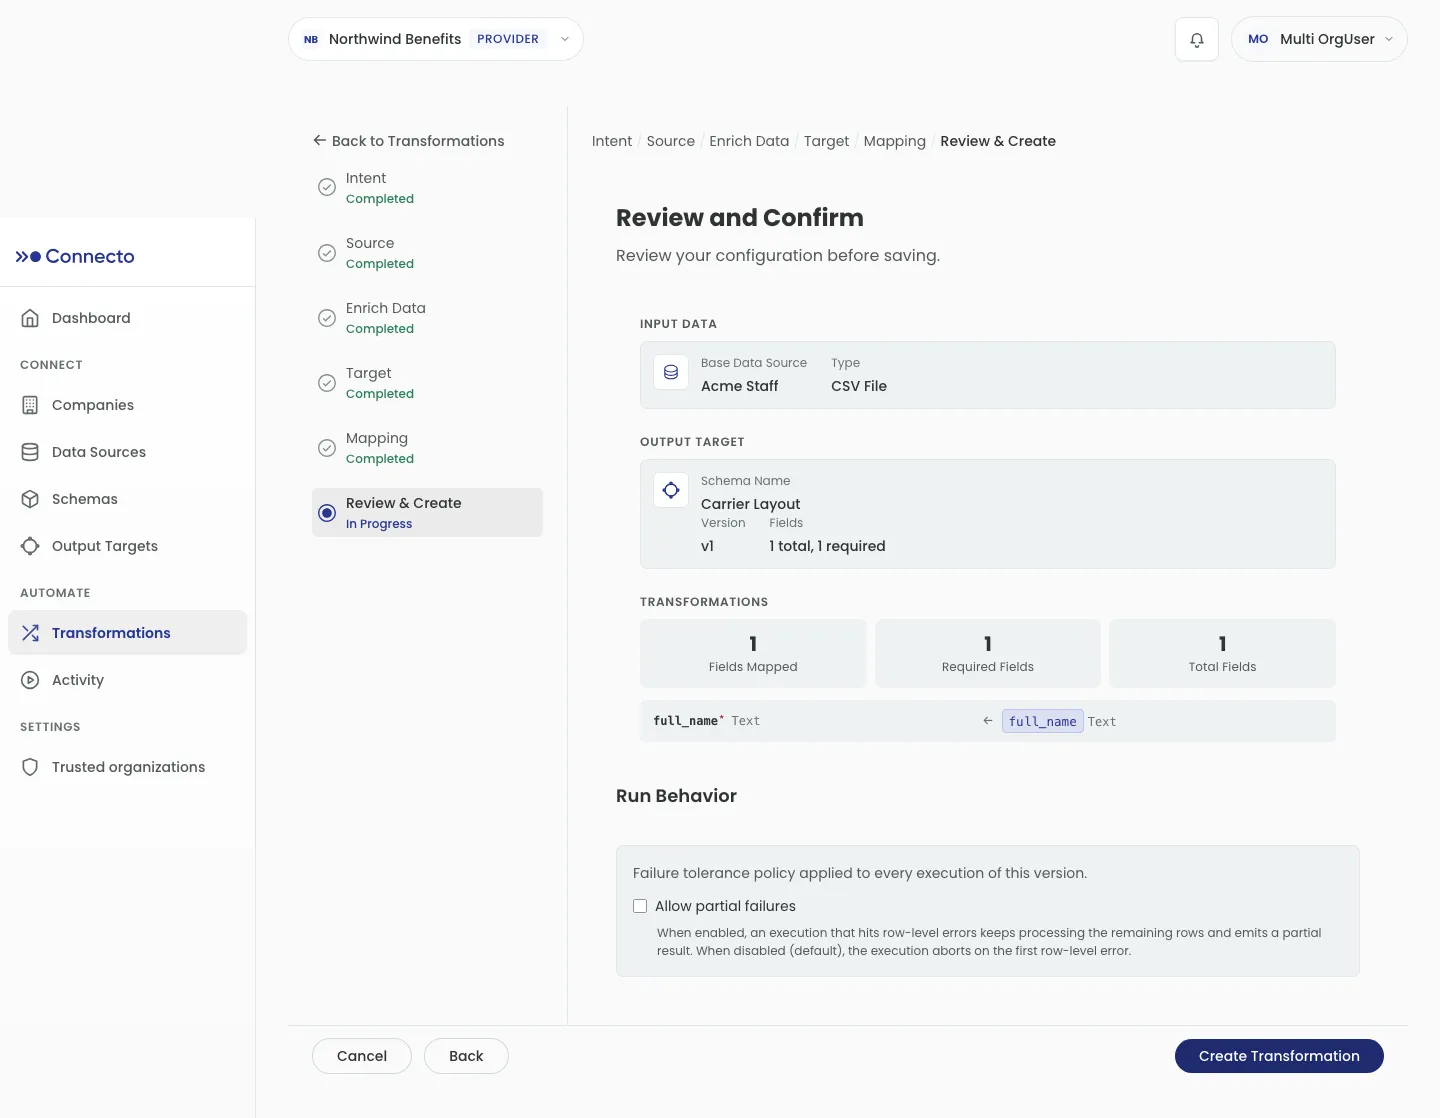
Section titled “Step 6 — Review & Create”Check the summary before saving. It lists your Input Data (base source and any enrichments), Output Target (schema and version), and Transformations (how many fields are mapped).
Run Behavior controls how runs handle bad rows:
- Allow partial failures off (default) — a run stops at the first row-level error.
- Allow partial failures on — a run keeps processing the remaining rows and produces a partial result.
Select Create Transformation. Connecto creates it and opens the transformation, where you can refine it in the pipeline editor, then activate and run it.